


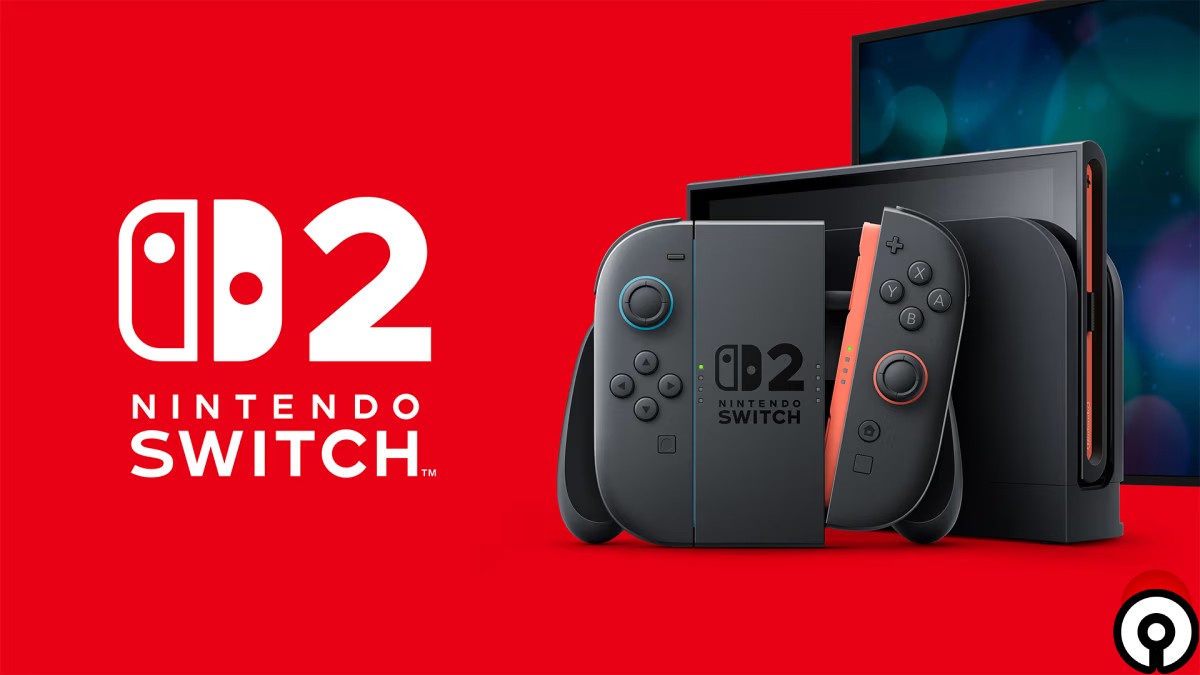
Getting a Nintendo Switch 2, and you want to preserve all of your saves, games, and profiles. For a seamless system transfer from your original Switch, follow this comprehensive, step-by-step guide.
1. Understand the Two Transfer Methods
Nintendo offers two transfer options depending on whether you still have your old Switch:
- Local (console-to-console) transfer
- Requires both consoles in your hands and within a few feet.
- No factory reset on the original.
- Includes all Nintendo‑Account-linked profiles, digital games, saves, screenshots/videos, settings, and parental controls.
- Server (cloud) transfer
- Ideal if you plan to sell or give away the old Switch before getting the new one.
- Uploads all data to Nintendo servers (stored up to 1 year), then factory resets your old console .
2. Prepare Before You Transfer
- Update both consoles to the latest firmware. The Switch got a special update (20.0.0/20.0.1) ahead of the Switch 2 launch to enable transfer features.
- Connect both consoles to Wi‑Fi.
- Link at least one user to a Nintendo Account on the old Switch—essential for carrying over save data.
3. Local Transfer: Step-by-Step
- Start your new Switch 2 and complete the initial setup, including the required update.
- When prompted, select “Start System Transfer”.
- On the old Switch: Settings > System > System Transfer > “To Nintendo Switch 2”.
- Ensure both devices are visible; follow on-screen prompts to begin.
- The new Switch 2 will reboot after transfer. Old Switch remains intact, minus local saves for unlinked users.
4. Server Transfer: Step-by-Step
- On the old Switch: Settings > System > System Transfer > “I don’t have a Switch 2 yet.”
- Upload data to Nintendo’s server—note the download deadline (up to 1 year).
- The old console has been factory reset.
- When setting up the Switch 2, resume transfer during setup by signing in with the same Nintendo Account.
If the setup completes before retrieval, you’ll need to reset the Switch 2 to factory settings to regain access to the backup.
5. What Gets Transferred—and What Doesn’t
| ✅ Transfers Included | ❌ Not Transferred |
|---|---|
| Profiles (linked) | Bluetooth settings & audio devices |
| Digital games & settings | Custom controller mappings |
| Game saves & cloud-backed data | Time zone & language settings |
| Screenshots/videos | |
| Parental controls |
All digital games are re-downloaded on the new console. Physical cards play as usual, and all your Nintendo Switch Online subscription and GameChat support transfer over.
6. After the Transfer
- Your old Switch remains functional (if local transfer) or is wiped (if cloud method).
- Game archives are preserved—only downloaded again if you choose.
- If storage is full on your new system, prioritize which games to download now.
- Controller support: original Joy‑Cons and Pro Controllers work seamlessly on the Switch 2—though future games may use Joy‑Con 2’s new features like the “C” button GameChat.
Tips for a Hassle‑Free Transfer
- Do it during initial setup—Nintendo stresses that skipping this step may lock you into manual methods requiring a full system reset.
- Keep both consoles fully charged and connected—mid-transfer failures can be avoided this way.
- Watch your storage on Switch 2: all installed games queue immediately. Archive extras first if needed.
- Be aware of special game data (like Animal Crossing, Pokémon), which may have unique cloud save rules—some cannot transfer back and forth.
If you follow Nintendo’s official system transfer instructions during setup, switching to a Nintendo Switch 2 is simple. Your digital life, including games, saves, settings, and screenshots, goes with you whether you keep your old console or not. Simply keep consoles close by, give the transfer top priority, and maintain Wi-Fi connectivity.